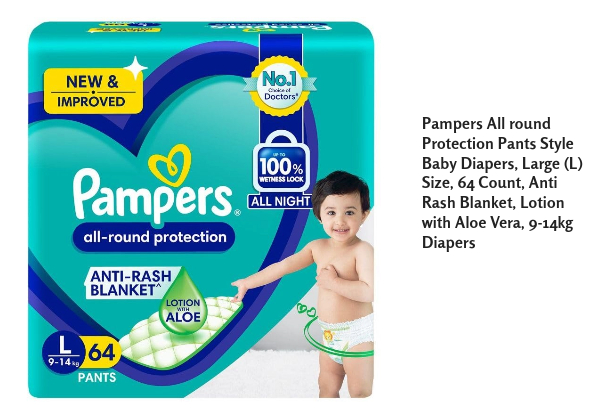
Changing diapers is a fundamental skill every new parent or caregiver must master. While it may seem daunting at first, with a little practice and confidence, you’ll soon become a diaper-changing pro. This step-by-step guide aims to equip you with the knowledge and confidence you need to tackle diaper changes like a seasoned pro. Let’s dive in!

Step 1: Gather Your Supplies
Before you embark on the diaper-changing journey, it’s crucial to have all your supplies ready. Here’s a checklist of what you’ll need:
Clean Diaper: Choose the appropriate size and type of diaper for your baby’s age and needs.
Wipes: Opt for fragrance-free and hypoallergenic wipes to clean your baby’s bottom gently.
Changing Mat or Pad: A clean, soft surface for your baby to lie on during the change.
Diaper Rash Cream: Have this on hand in case your baby’s skin needs a little extra protection.
A Change of Clothes: Babies can surprise you with unexpected messes, so have a spare outfit ready.
Trash Bag: For disposing of the soiled diaper and wipes.
Step 2: Wash Your Hands
Start by thoroughly washing your hands with soap and water. This step is essential to maintain hygiene and prevent the spread of germs to your baby.
Step 3: Prepare the Changing Area
Lay out the changing mat or pad on a flat and secure surface. Ensure it’s clean and free from any objects that could pose a danger to your baby. Make sure you have easy access to all your supplies.
Step 4: Safely Position Your Baby
Gently lay your baby down on the changing mat. To prevent them from rolling off, keep one hand on your baby’s chest or gently hold their legs.
Step 5: Remove the Dirty Diaper
Open the tabs or fasteners of the soiled diaper. Carefully lift your baby’s bottom off the diaper. If it’s a bowel movement, use the front of the diaper to wipe off as much as possible before folding it closed and setting it aside.
Step 6: Clean Your Baby
Grab a wipe and gently clean your baby’s bottom from front to back. This helps prevent urinary tract infections. Be thorough but gentle to avoid causing any discomfort or irritation. If you notice any redness or irritation, apply a diaper rash cream as needed.
Step 7: Lift Your Baby’s Legs
To place the clean diaper under your baby, gently lift their legs by their ankles. Slide the fresh diaper underneath, ensuring that it’s centered and the tabs or fasteners are at the front.
Step 8: Secure the Diaper
Carefully pull the front of the diaper up between your baby’s legs. Attach the tabs or fasteners securely but not too tight to allow room for movement and comfort. Double-check that the diaper is snug but not too constricting.
Step 9: Dispose of the Soiled Diaper and Wipes
Place the soiled diaper and wipes in a trash bag. Make sure it’s sealed tightly to contain any odors.
Step 10: Dress Your Baby
If your baby’s outfit got messy, replace it with the spare clothes you prepared earlier. Make sure to choose something comfortable and easy to put on.
Step 11: Wash Your Hands Again
After completing the diaper change, it’s essential to wash your hands thoroughly once more to maintain hygiene.
Additional Tips for Diaper Changing Confidence:
Be Prepared for Surprises: Babies can be unpredictable, so always be ready for unexpected messes. Having spare clothes, extra diapers, and wipes on hand can save the day.
Engage Your Baby: Keep your baby distracted and happy during diaper changes. Sing a song, talk to them, or provide a small toy to hold.
Be Gentle and Patient: Diaper changes can be stressful for both you and your baby, so be gentle and patient. Use soothing words and maintain a calm demeanor.
Safety First: Never leave your baby unattended on the changing mat, even for a moment. Always keep one hand on your baby when they’re on the changing surface.
Stay Organized: Keep your changing supplies well-organized and within arm’s reach. This ensures you can focus on your baby rather than searching for items.
Diaper Sizes Matter: As your baby grows, you’ll need to switch to larger diaper sizes. Pay attention to weight guidelines on diaper packages to ensure a snug fit.
Maintain Consistency: Try to keep a consistent diaper-changing routine, which can help your baby feel secure and less resistant to the process.
Conclusion
Changing diapers may initially seem intimidating, but with practice and confidence, it becomes second nature. Following this step-by-step guide and implementing the additional tips will not only help you change diapers efficiently but also strengthen the bond between you and your baby during these intimate moments. Remember, each diaper change is an opportunity to connect with your little one and provide them with the care and comfort they need. So, approach diaper changes with patience, love, and confidence, and you’ll be well on your way to mastering this essential parenting skill.


One thought on “Step-by-Step Guide: Changing Diapers with Confidence”